The Ultimate PC Gamer Budget PC Build for Under $800
Building your own gaming computer has big benefits over buying one. You can save a lot of money and choose every part yourself.
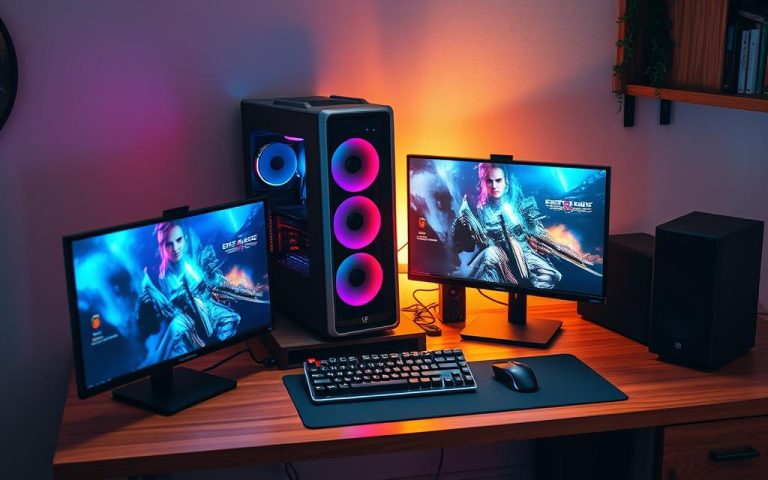
This guide shows how to make a strong affordable gaming rig. It works great at 1080p without costing too much. The joy of making your own computer adds to its value.
We’ve picked out the best parts for a top performance within our £800 limit. This is like what top pc builds for gaming experts suggest. They focus on the most important parts.
Our detailed guide will help you build a system that beats pre-made ones at this price. You’ll get better gaming with this custom pc build method.
Planning Your Ultimate PC Gamer Budget PC
Before picking parts for your gaming PC, planning is key. It helps you get the best performance without spending too much. Good pc build planning means setting clear goals and spreading your budget wisely.
Related Posts:


Establishing Realistic Performance Targets
With an $800 budget, you can get great 1080p gaming. The AMD Radeon RX 7600, for example, runs at 84.9 frames per second in games like Cyberpunk 2077 and Elden Ring.
This setup means you’ll enjoy smooth gameplay in top games. Add a strong processor like the Intel Core i5-14600KF, and your system will be fast for more than just games.
Knowing what to expect from your build is important. You’re aiming for top 1080p gaming and solid performance for work and watching videos.
Strategic Budget Distribution
Smart cost allocation is what makes a good build. The graphics card and processor should get the most money.
Here’s a suggested budget split for the best gaming:
- Graphics Card: 35-40% of total budget
- Processor: 20-25% of total budget
- Motherboard and Memory: 15-20% combined
- Storage and Power Supply: 10-15% combined
- Case and Cooling: 5-10% combined
This plan focuses on what matters most for gaming. It also keeps your system stable and ready for future upgrades. Keep an eye out for sales to stretch your budget even further.
Core Component Selection Guide
Choosing the right parts is key to a great gaming PC. Each part must perform well and not break the bank. We’ve looked at many setups to find the best mix of cost and quality.

Processor: AMD Ryzen 5 5600
The AMD Ryzen 5 5600 is a top best budget cpu for gaming PCs. It has six cores and twelve threads, making it great for modern games. It also uses power efficiently.
If you’re looking at other options, the Intel Core i5-14600KF has faster speeds but needs better cooling. The Ryzen 5 5600 is a better deal because it comes with a cooler and uses less power.
Graphics Card: NVIDIA GeForce GTX 1660 Super
The NVIDIA GeForce GTX 1660 Super is a top best budget gpu for 1080p gaming. It has 6GB of GDDR6 memory, making it good for most games at high settings.
The AMD Radeon RX 7600 is a good alternative with better ray tracing. But the GTX 1660 Super is often cheaper and has better driver support.
Motherboard: ASRock B550M-HDV
This micro-ATX gaming motherboard has all you need without extra costs. It supports PCIe 4.0 and has reliable connections for gaming gear.
The B550 chipset works well with today’s parts and is affordable. Its design makes building and cable management easy.
Memory: Corsair Vengeance LPX 16GB DDR4
16GB of ddr4 ram is perfect for gaming PCs. Corsair’s Vengeance LPX series is fast and has a slim design that fits most CPU coolers.
It runs at 3200MHz, giving you plenty of bandwidth for gaming and other tasks. The heat spreader keeps it stable during long gaming sessions.
Storage: Crucial P3 1TB NVMe SSD
Fast storage is key for modern games. The Crucial P3 nvme ssd offers quick loading and system response.
With 1TB, you have plenty of room for your games and OS. While the WD Black SN770 is faster, it costs more.
Power Supply: EVGA 600 W1
A good psu is essential for a stable system. The EVGA 600 W1 has enough power for all your parts and is 80 Plus certified for efficiency.
It has the right connections for single GPU setups and delivers clean power to your components.
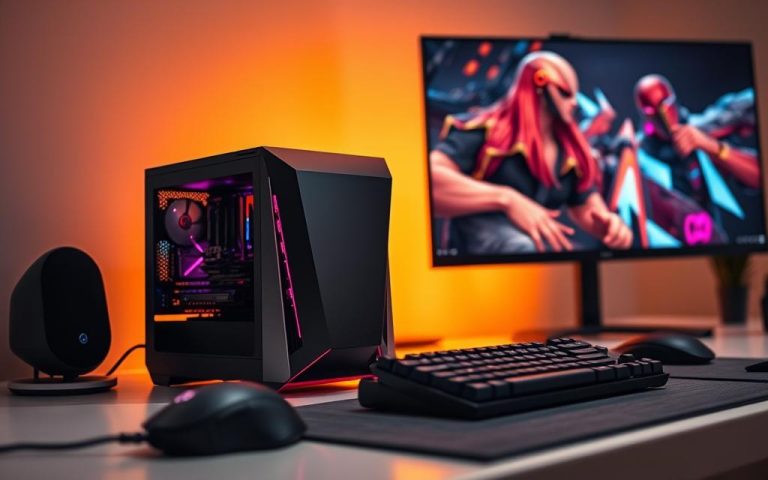
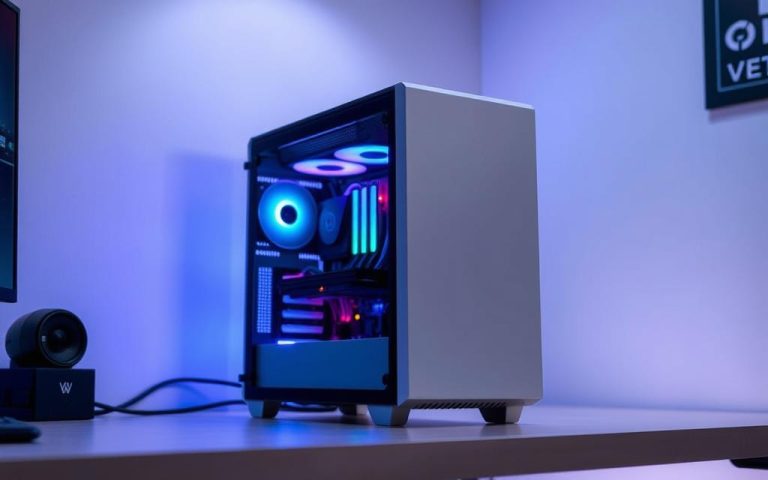
Case: Fractal Design Focus G
The Fractal Design Focus G pc case offers great airflow and easy building. Its mesh front panel helps cool your gaming parts well.
This case comes with two fans and supports more cooling. The clear side panel shows off your build while being practical.
Remember, prices change often. Always check current build recommendations for the best deals that keep performance high within your budget.
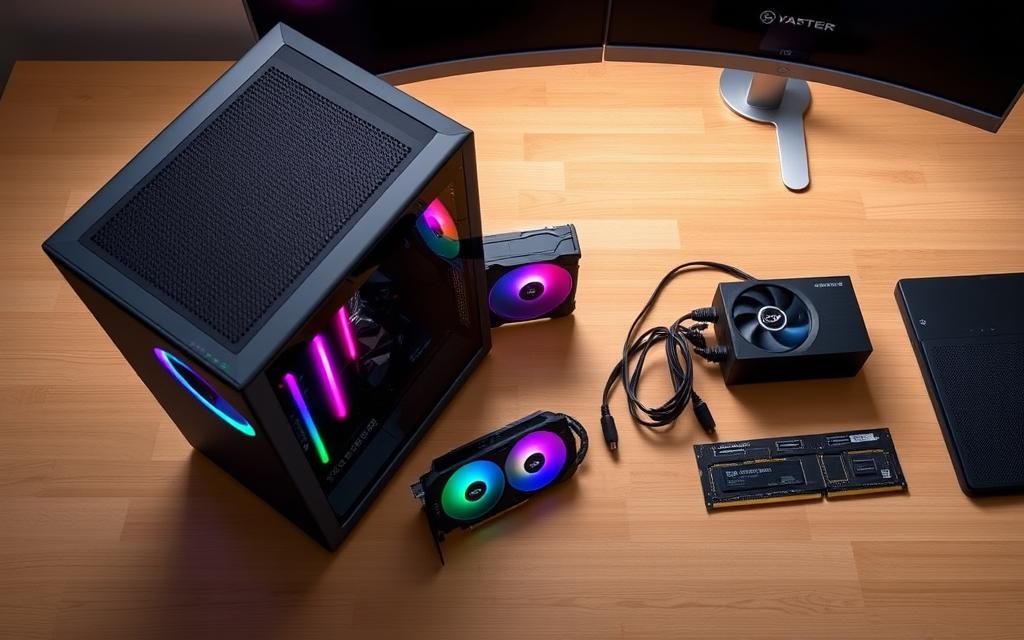
Step-by-Step Assembly Process
Now that you have all your parts, it’s time to start building. This is the most exciting part of your pc assembly guide. It’s a step-by-step guide to help you build your PC without any mistakes.
Workspace Preparation and Safety Measures
First, pick a clean, bright area with enough space. An anti-static mat is best, but any non-carpeted surface will do.
Here’s what you’ll need:
- Phillips head screwdrivers (various sizes)
- Anti-static wrist strap
- Cable ties for organisation
- Small containers for screws
Always turn off power before you start. Use an anti-static wrist strap to prevent damage from static electricity.
Motherboard and CPU Installation
Start by getting your motherboard ready outside the case. Lift the CPU retention arm on the socket.
Put the AMD Ryzen 5 5600 in the socket, aligning the golden triangle with the socket’s indicator. It should fit perfectly without force.
Lower the retention arm to lock the CPU in place. If your cooler doesn’t have paste, add a small amount to the CPU’s centre.
Follow your cooler’s instructions to install it. Make sure it’s pressed down evenly.
Install your Corsair Vengeance LPX memory modules by opening the DIMM slot clips. Align the notch on your RAM with the slot key and press firmly until clips snap closed.
https://www.youtube.com/watch?v=zDpTBiCeK2w
Component Integration and Cable Management
Put your motherboard into the case, aligning the rear I/O shield cutouts. Use standoffs and screws to secure it.
Install your power supply according to the case’s orientation. Route cables through cutouts before connecting.
Mount your Crucial P3 SSD in the M.2 slot on your motherboard. Use the included screw to secure it.
To install your graphics card, remove the rear case slots. Align your GTX 1660 Super with the PCIe x16 slot and press until the retention clip engages.
Good cable management improves airflow and looks. Here’s how to route cables:
| Cable Type | Routing Path | Connection Point |
|---|---|---|
| 24-pin Motherboard | Behind motherboard tray | Right side edge |
| 8-pin CPU | Top case cutout | Upper left corner |
| PCIe Power | Bottom case cutout | Graphics card side |
| SATA Data | Direct route | Motherboard SATA ports |
Use ties to keep cables in place but avoid over-tightening. Leave some slack for future upgrades. Good cable management helps with airflow and makes troubleshooting easier.
Before closing your case, check all connections. Make sure power cables are fully seated and components are securely mounted. This careful approach will help you complete your how to build a pc project successfully.
Software Configuration and Optimisation
After setting up your hardware, it’s time to configure your system’s software. This step turns your parts into a gaming machine ready for action.
Windows Installation and Driver Setup
Start by making a bootable USB drive for Windows 11. Microsoft’s free media creation tool makes this easy. Choose custom installation and format your SSD for a clean start.
Windows 11 is affordable. You can find deals on genuine licences. This ensures you get security updates and full functionality.

After installing Windows, download drivers for your hardware. Begin with your motherboard drivers from ASRock’s website. Then, get your graphics card drivers from NVIDIA’s site. These drivers help your hardware talk to your operating system.
“Proper driver management is the bridge between hardware and performance. Don’t just rely on Windows Update for gaming drivers.”
Here’s how to install drivers:
- Motherboard chipset and audio drivers
- Graphics card drivers
- Network adapter drivers
- Peripheral-specific software
System Optimisation for Gaming
With drivers installed, focus on optimising Windows for gaming. You can make big improvements without buying more hardware.
Start with power plan settings. Choose the High Performance plan in Windows settings. This lets your components work their best during games.
Adjust visual effects for better performance:
- Disable transparency effects
- Turn off unnecessary animations
- Adjust for best performance in system properties
For in-game settings, balance looks with performance. Most games have preset settings. Start with medium settings and adjust as needed. Aim for stable frame rates over perfect visuals.
Use these software tools for monitoring and optimising your gaming PC:
| Software Type | Recommended Tool | Primary Function |
|---|---|---|
| System Monitoring | MSI Afterburner | Real-time performance metrics |
| Temperature Control | HWMonitor | Component temperature tracking |
| Driver Management | Driver Booster | Automatic driver updates |
| Game Optimisation | NVIDIA GeForce Experience | Game setting optimisation |
Regular maintenance keeps your PC running well. Check for driver updates and system cleaning monthly. Many tools offer automated scheduling.
Optimising your PC for gaming is a continuous effort. As games and updates come out, check your settings to keep performance high.
Performance Validation and Testing
After building your budget gaming PC, it’s time to check how well it works. This step makes sure your system can handle tough tasks and gives you the gaming experience you want.
Stability and Thermal Testing
Start by checking if your system is stable. Instability can show up when you’re doing lots of work at once. It’s important to test your system under stress.
Use software like Prime95 or AIDA64 to stress test PC parts. These tools push your processor hard to find any problems.
Also, use tools like HWMonitor or Core Temp to check temperatures. It’s key to keep CPU temperatures below 85°C during long stress tests.
To test your graphics card, FurMark is great. Watch the temperature and clock speed to make sure your graphics card works well under load.
Gaming Performance Verification
Once stability is confirmed, it’s time to see how well your PC plays games. This step checks if your build meets your performance goals.
Use benchmark tools like 3DMark or Unigine Superposition to benchmark gaming PC performance. These tests give you standard results to compare with other systems.
Play games you want to play often to see how your PC does. Use tools like FRAPS to check frame rates and compare them to what you expect.
Try different quality settings to see how flexible your system is. This helps you find the best balance between looks and smooth play for each game.
Keep track of your results, noting frame rates, minimums, and any odd performance. This info is useful for future upgrades or tweaks.
Conclusion
Building a powerful gaming PC under $800 is a rewarding experience. This budget gaming build summary highlights the careful selection of components. The AMD Ryzen 5 5600 and NVIDIA GeForce GTX 1660 Super were chosen for their performance and value.
The assembly process ensures your system runs smoothly. Proper installation and cable management contribute to better airflow and stability. Testing confirms the rig handles modern games with ease.
These final thoughts emphasise the value of a DIY approach. You gain a cost-effective gaming machine tailored to your needs. This build proves high performance does not require a high budget.
Your new PC is ready for action. Enjoy gaming on a system built with precision and care. This project demonstrates smart planning leads to outstanding results.
FAQ
What gaming performance can I expect from a PC built for under 0?
You can get smooth 1080p gaming at High to Ultra settings in most games. Frame rates of 60fps or higher are possible. The performance varies by game, but this build is great for 1080p gaming.
Is it better to build a PC or buy a pre-built system at this budget?
Building your own PC is often better. You get more value, customisation, and quality components. Plus, you learn and enjoy building your own rig.
Which components should I prioritise when distributing my budget?
Focus on the graphics card and processor for gaming. Spend most of your budget on these. Then, choose a reliable power supply and enough RAM. You can save on the case and motherboard without losing performance.
Can I use an Intel processor instead of the recommended AMD Ryzen 5 5600?
Yes, the Intel Core i5-14600KF is a good alternative. Make sure it fits with a compatible motherboard. Also, consider any price changes that might affect other parts.
Are there any good alternatives to the NVIDIA GeForce GTX 1660 Super?
A> Absolutely. The AMD Radeon RX 7600 is a strong competitor. Always check benchmarks and prices to find the best card for you.
What tools do I need to assemble the PC?
You need a Phillips-head screwdriver, an anti-static wrist strap, and a clean workspace. Most parts come with screws, so you might not need extra tools.
How do I install Windows and drivers after building the PC?
Make a bootable USB with Windows 11 using the Media Creation Tool. After installing, get the latest drivers from the manufacturers’ websites. This ensures your system runs smoothly.
How can I test my PC’s stability and temperatures after building it?
Use Prime95 for CPU stress and FurMark for GPU stress. Monitor temperatures with HWMonitor. This helps spot any issues before gaming.
Will this build support future upgrades?
Yes, a motherboard like the ASRock B550M-HDV supports future CPUs and RAM. The case and power supply also allow for upgrades, but you’ll need to budget for those separately.
Where can I find the best deals on PC components?
Look at Amazon, Newegg, and Scan UK for sales. Use price comparison tools and forums to find the best deals on each part.